
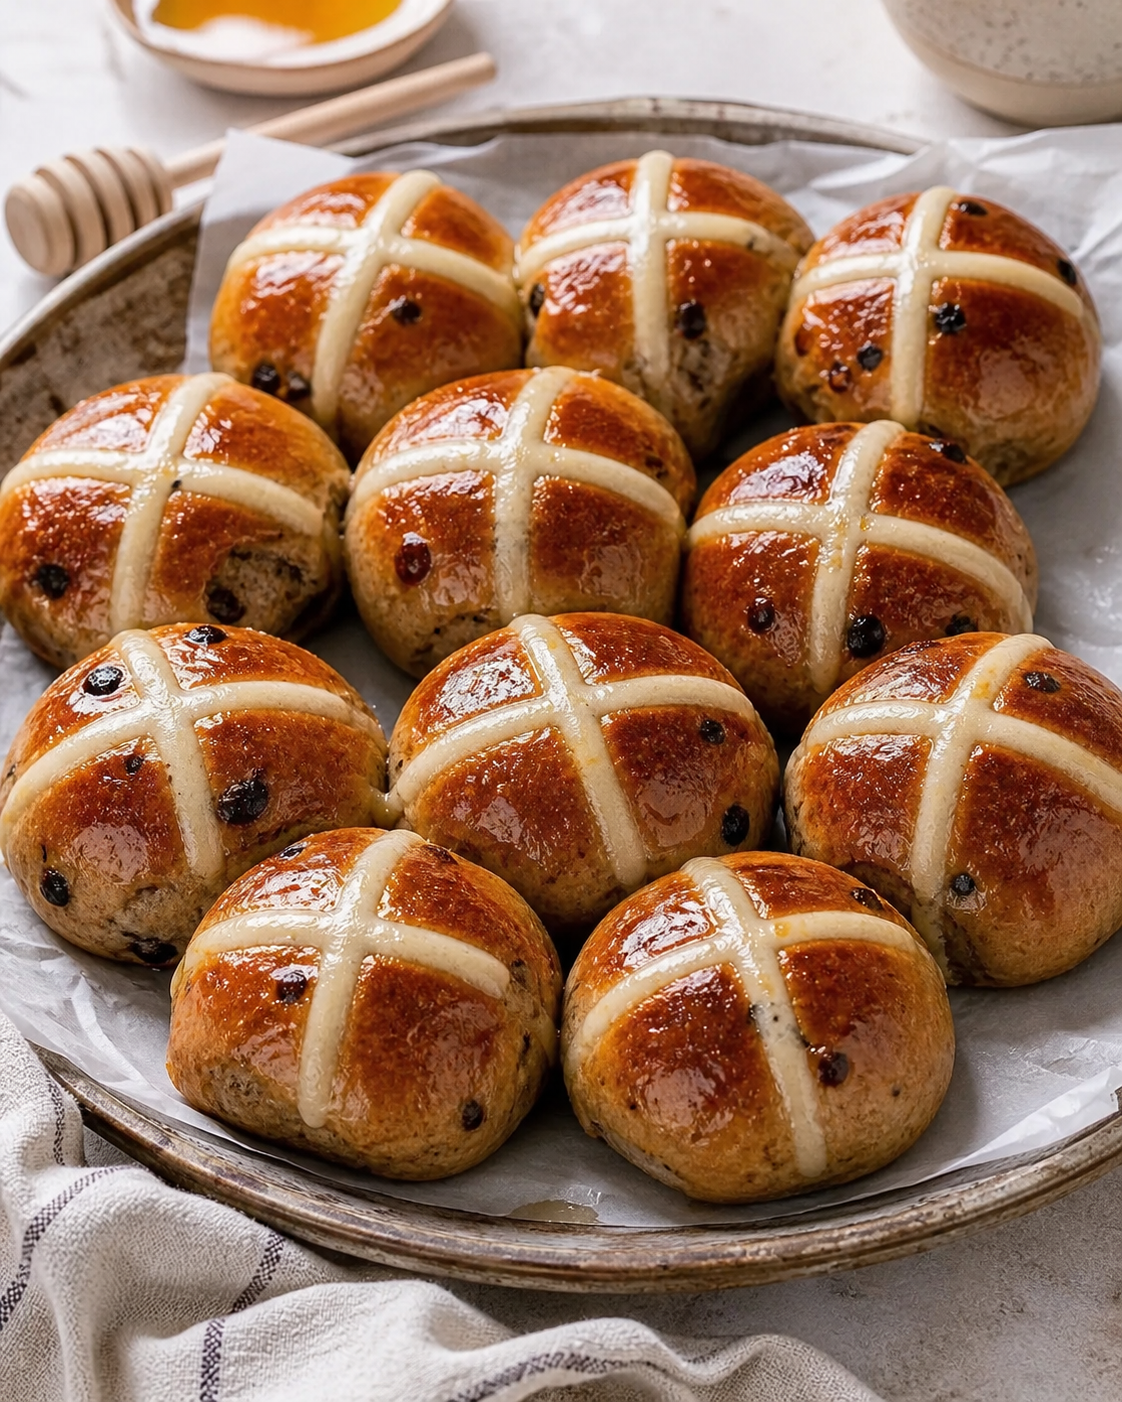
Classic Hot Cross Buns Recipe
Few baked treats feel as comforting and nostalgic as warm homemade hot cross buns fresh from the oven. Soft, fluffy, lightly spiced, and filled with juicy dried fruit, these golden buns are a timeless favorite enjoyed in many homes around the world. The glossy tops and signature cross make them instantly recognizable, while the sweet aroma of cinnamon and nutmeg filling the kitchen makes them impossible to resist.
Hot cross buns are traditionally associated with Easter, but they are delicious enough to bake year-round. Whether served warm with butter, paired with tea, or toasted for breakfast, they offer a wonderful balance of sweetness, spice, and rich bread texture.
This detailed recipe will guide you through every step of making bakery-style hot cross buns at home. Even if you are new to bread baking, you can achieve beautifully soft buns with this simple and rewarding method.
What Are Hot Cross Buns?
Hot cross buns are sweet yeast buns flavored with warm spices and studded with raisins or mixed dried fruit. They are marked with a cross on top, usually made from flour paste or icing. Traditionally eaten during Easter celebrations, these buns date back centuries and remain popular in many countries today.
The texture should be soft and fluffy inside with a lightly golden crust outside. The flavor comes from a blend of cinnamon, nutmeg, and dried fruit, while a sweet glaze gives the tops their beautiful shine.
Ingredients
For the Dough
- 4 cups all-purpose flour
- 2 ¼ teaspoons active dry yeast
- 1 cup warm milk
- ¼ cup warm water
- ⅓ cup sugar
- ¼ cup unsalted butter, softened
- 1 large egg
- 1 teaspoon salt
- 1 teaspoon cinnamon
- ½ teaspoon nutmeg
- 1 cup raisins or mixed dried fruit
- 1 teaspoon vanilla extract
For the Cross Paste
- ½ cup flour
- 5–6 tablespoons water
For the Glaze
- 2 tablespoons apricot jam or honey
- 1 tablespoon warm water
Kitchen Tools You’ll Need
- Large mixing bowl
- Baking tray
- Measuring cups and spoons
- Wooden spoon or dough hook
- Piping bag or zip bag
- Clean kitchen towel
Step 1: Activate the Yeast
In a small bowl, combine the warm milk, warm water, sugar, and yeast. Stir gently and let the mixture sit for about 5–10 minutes.
The yeast should become foamy on top. This means it is active and ready to use. If no foam appears, the yeast may be expired or the liquid may have been too hot or too cold.
Step 2: Prepare the Dough
In a large bowl, mix together:
- Flour
- Salt
- Cinnamon
- Nutmeg
Add the yeast mixture, butter, egg, and vanilla extract.
Mix until a sticky dough begins to form. Fold in the raisins or dried fruit.
Step 3: Knead the Dough
Transfer the dough to a lightly floured surface. Knead for 8–10 minutes until smooth and elastic.
The dough should feel soft and slightly tacky but not overly sticky. If needed, add a small amount of flour while kneading.
Kneading develops gluten, which gives the buns their fluffy texture.
Step 4: First Rise
Place the dough in a lightly greased bowl and cover with a clean towel.
Let it rise in a warm place for about 1–1½ hours, or until doubled in size.
A warm kitchen helps the dough rise properly. Avoid placing it in a cold or drafty area.
Step 5: Shape the Buns
Punch down the risen dough gently to remove excess air.
Divide the dough into 12 equal portions and roll each into a smooth ball.
Place them on a lined baking tray, leaving a little space between each bun for expansion.
Cover again and let them rise for another 30–45 minutes.
Step 6: Make the Crosses
Mix the flour and water together until a thick paste forms.
Transfer the paste into a piping bag or zip-top bag with a small corner cut off.
Pipe a cross across each bun.
This classic cross gives hot cross buns their traditional appearance.
Step 7: Bake
Preheat the oven to 375°F (190°C).
Bake the buns for 18–22 minutes, or until beautifully golden brown.
The tops should look shiny and slightly crisp while the inside remains soft.
Step 8: Add the Glaze
While the buns are still warm, mix the jam or honey with warm water.
Brush the glaze over the tops of the buns.
This gives them a beautiful glossy finish and adds extra sweetness.
Tips for Perfect Hot Cross Buns
Use Fresh Yeast
Fresh yeast ensures a good rise and fluffy texture.
Don’t Add Too Much Flour
A soft dough creates softer buns. Adding too much flour can make them dense.
Soak the Fruit
For extra juicy raisins, soak them in warm water or orange juice before adding them to the dough.
Let the Dough Rise Properly
Patience is important. Proper rising creates light and airy buns.
Flavor Variations
Chocolate Chip Hot Cross Buns
Replace dried fruit with chocolate chips for a sweeter twist.
Orange-Spiced Buns
Add orange zest for a bright citrus flavor.
Apple Cinnamon Version
Mix in finely chopped dried apples and extra cinnamon.
Cranberry White Chocolate Buns
Use dried cranberries and white chocolate chunks for a festive variation.
How to Serve Hot Cross Buns
These buns are delicious:
- Warm with butter
- Toasted with jam
- Served with tea or coffee
- As a breakfast treat
- With cream cheese spread
They also make a wonderful homemade gift during holidays.
Storage Tips
Store cooled buns in an airtight container for up to 3 days.
To reheat:
- Microwave for 10–15 seconds
- Or warm in the oven for a few minutes
You can also freeze them for up to 2 months.
Why Homemade Hot Cross Buns Taste Better
Homemade buns have a freshness and softness that store-bought versions often lack. You can control the sweetness, spice level, and fruit quantity while enjoying the satisfaction of baking from scratch.
The aroma alone makes the effort worthwhile. Watching the dough rise and transform into golden buns is one of the most rewarding parts of bread baking.
Final Thoughts
Hot cross buns are more than just sweet bread rolls — they are comforting, fragrant, and full of tradition. Their soft texture, warm spices, and fruity sweetness make them perfect for breakfast, dessert, or an afternoon snack.
Whether you bake them for Easter or simply because you love homemade bread, this recipe delivers soft and flavorful buns every time. Serve them warm from the oven, share them with family, and enjoy the cozy homemade goodness in every bite.